The Best Smelling Thing I Ever Made
Autumn is my most favorite of all the seasons by far. Even all the beautiful blooming flowers of spring, the delicious tomatoes of summer and the gorgeous snowfalls of winter can’t beat the fiery colors, cool, crisp air and the crunch of fallen leaves under your feet that Autumn brings. I also love the smells of Autumn. Cinnamon, clove, apples and pumpkin everything. 🙂 Mmmmm….makes me happy.
So this recipe I’m about to share? You can make it because it tastes wonderful. You can make it because it’s healthier for your kids than store bought. Or, you can also make it because it just smells so, so, so good. Like make the whole house smell deliciously like autumn good. I won’t judge. I used to make crockpot apple butter just because it made the house smell wonderful. I would keep a tiny bit for myself and give the rest to my Dad who loves the stuff.
Now this recipe is extremely complex, and so difficult only the very best cooks should try it. 😉 Just kidding. My 10 year old made ours. 😀 I just helped adjust the ingredients to taste at the end. The biggest thing to remember when making this is that the size of apples varies greatly, as does their level of sweetness. You really will need to go by your taste at the end and adjust it as needed.
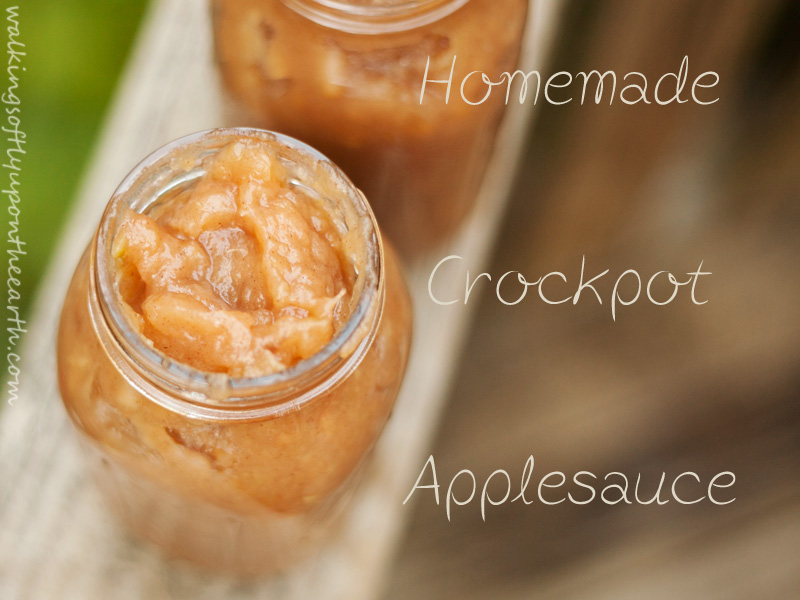
Homemade Crockpot Applesauce
Ingredients:
8-12 Apples depending upon their size. I added apples until the crockpot was a good 3/4 filled. We used 3 massive Golden Delicious and 5 or 6 Red Delicious. I have used many different varieties of apples and have never been disappointed. I always grab what is fresh and beautiful at the farm stand, and what my kiddos like to eat fresh so the leftovers don’t go to waste. My Little Dude loves Gala and my Sweet Pea fell in love with Jonagold the other day, so I will probably make another batch soon with those.
1/4 cup of honey, or more to taste. Always start with less, because you can add more in the end, but you certainly can’t take it out if it’s too sweet. I also love to use local honey so that I know I am getting the real thing and not some of the fake stuff that some companies are selling as honey these days. Honey should come from bees, not factories. There’s my soapbox for the day, right in the middle of your recipe. 🙂
1-2 teaspoons of cinnamon My kids are not huge fans of cinnamon in their applesauce, so I only added 1 teaspoon to ours. Crazy little people they are! Again, go by taste with this one so it’s as cinnamon-y as you like. 🙂
Juice from half a lemon
1/2 cup of water
Directions (Follow along carefully. This gets super-complex) 😉
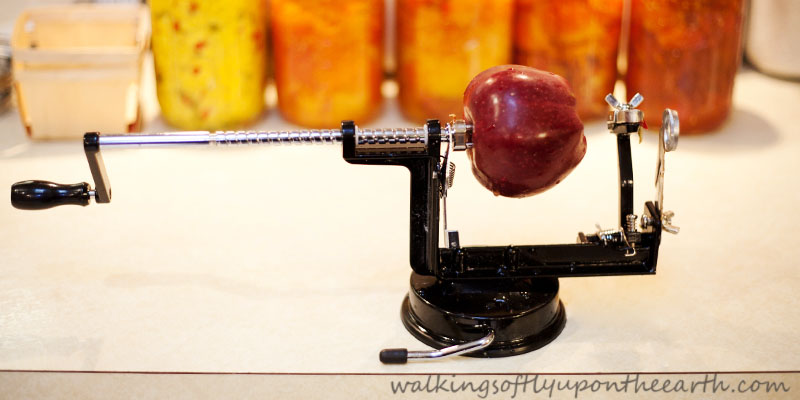
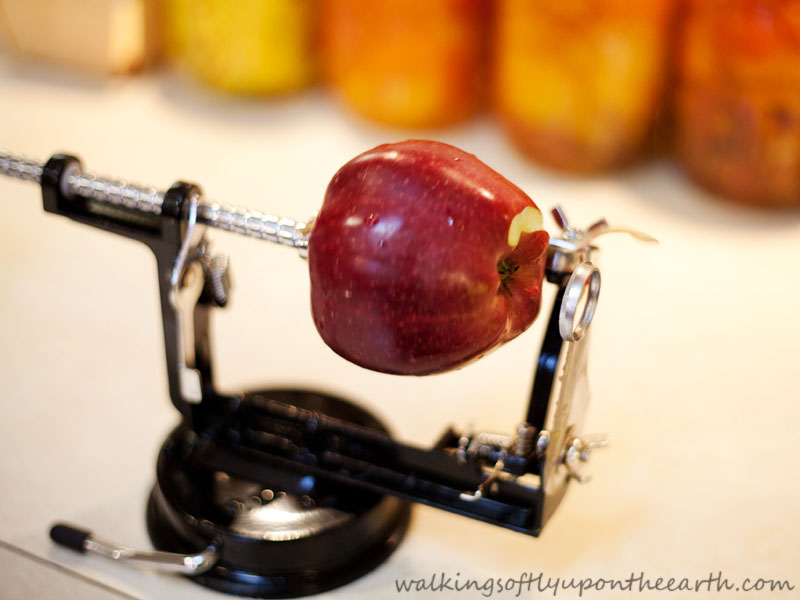
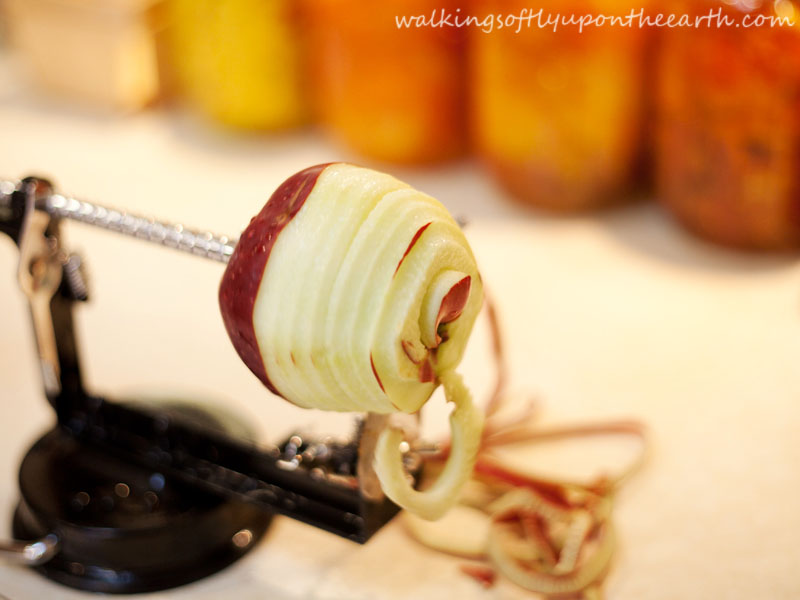
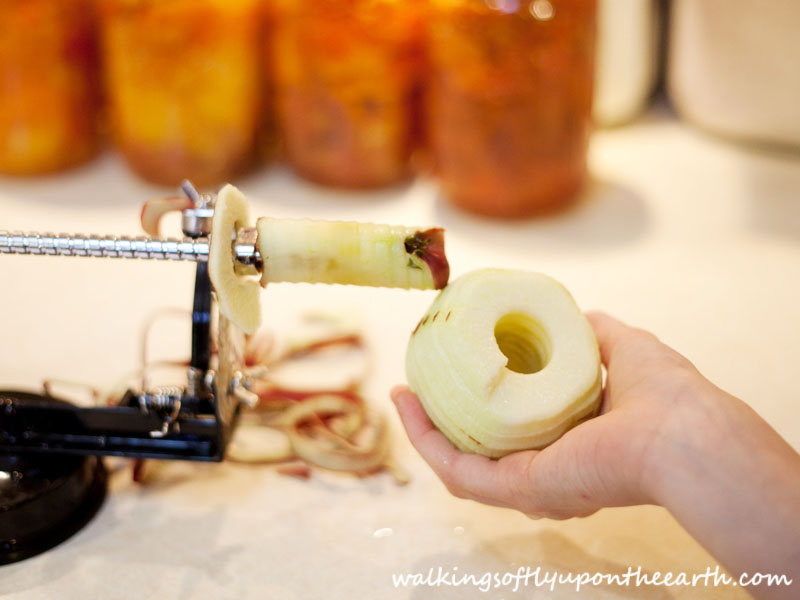
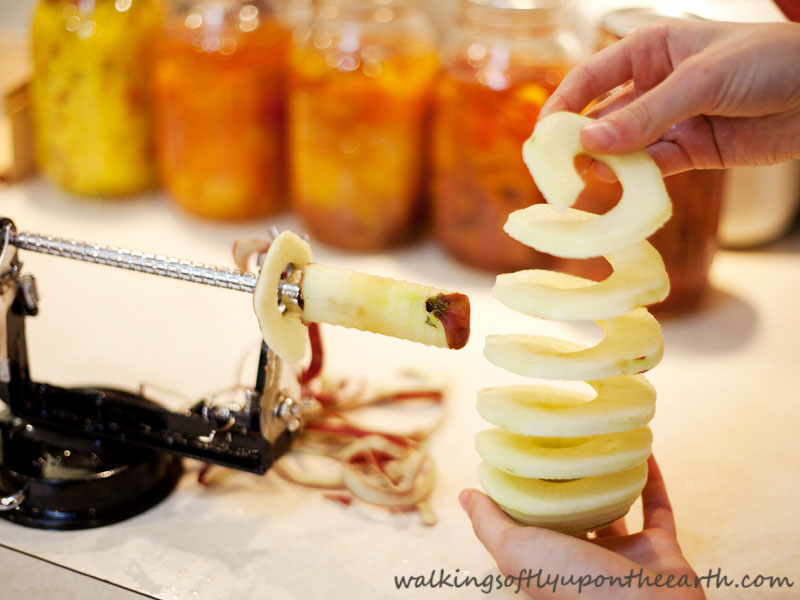
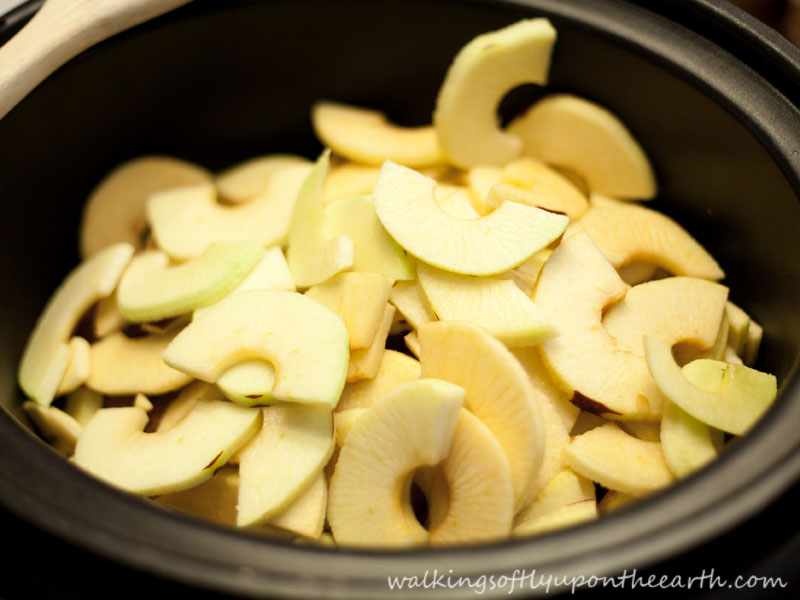
Peel, core and slice your apples. This is probably the most time consuming step if you are doing it by hand. My recommendation is, if you are ever planning to make this again or any other apple dish for that matter, get yourself one of these: Apple Peeler, Corer, Slicer I hate the whole process of peeling, coring, slicing apples for pies and sauce, and with 9 little apples trees growing in my yard now, this was a no-brainer for me. This little gadget was crazy easy to use (again the 10 year old did most of the work) and I am very happy with myself for getting it.
You stick the apple on the prongs and turn the handle.
I can’t tell you how happy it made me not having to do this all with a knife. It’s the little things. 🙂
Now for the tricky part. Throw everything in your crock pot, cover and cook on low for 6 hours.
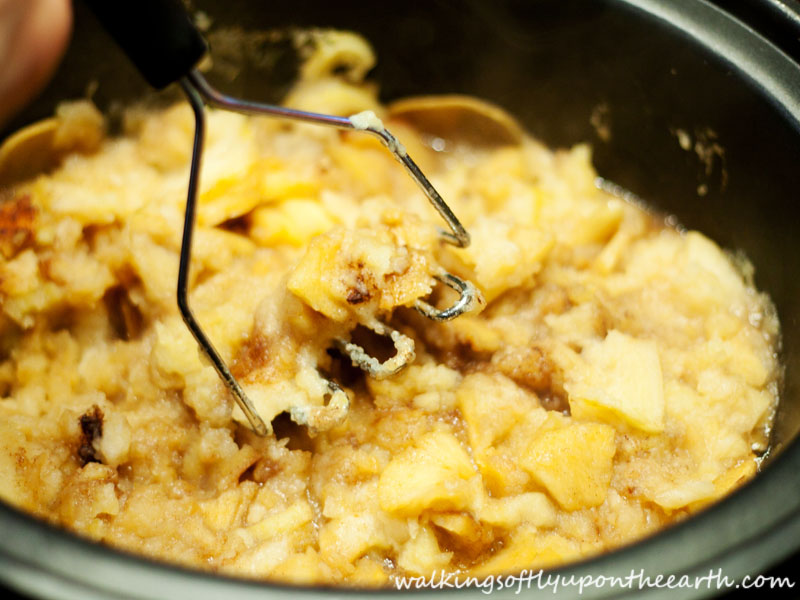
I usually grab my potato masher and mash the apples around the 4 hour mark and let it cook for another hour or two. This is a good time to taste it and add more honey or cinnamon if needed.
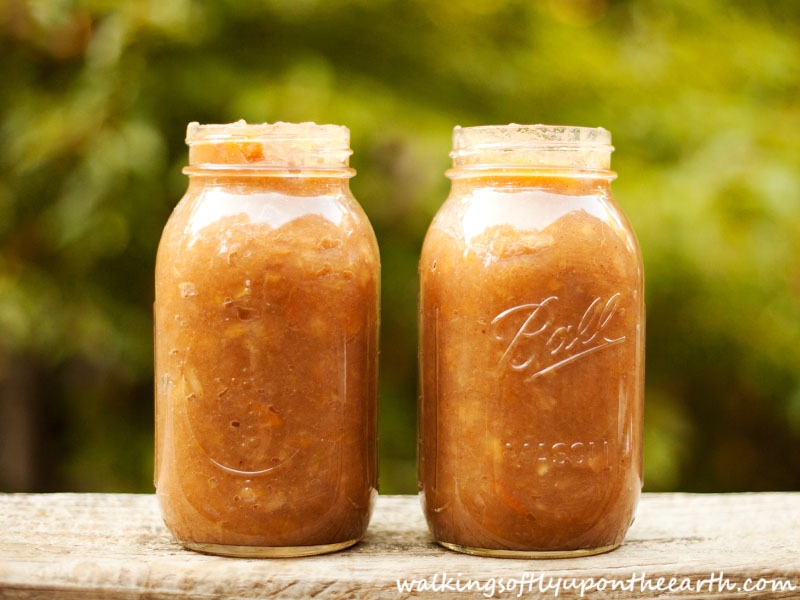
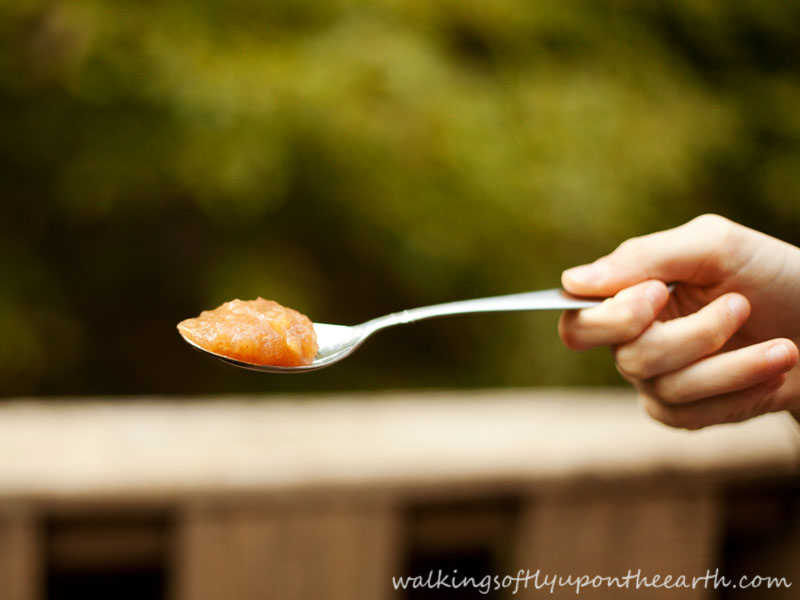
It’s done when it’s the texture you want and there isn’t a bunch of liquid in the pot. You can’t mess this up. 🙂 I got two quarts out of the recipe, plus a whole lot little that we ate while “taste testing” it.
It is wonderful hot or cold just as it is. I also like it in my oatmeal and on pancakes. YUM!!!! My next recipe will be my Pumpkin Muffins. Making them would be a good way to use some of this applesauce. That is, if you have any left. 🙂
This post was shared at the Homestead Blog Hop #1
DISCLOSURE: This post may contain affiliate links, and I may receive compensation for sharing products and information on this site. All thoughts and opinions are my own. Thank you for supporting Walking Softly Upon the Earth! See this page for full site Disclosure.
