Monthly Archive: October 2014

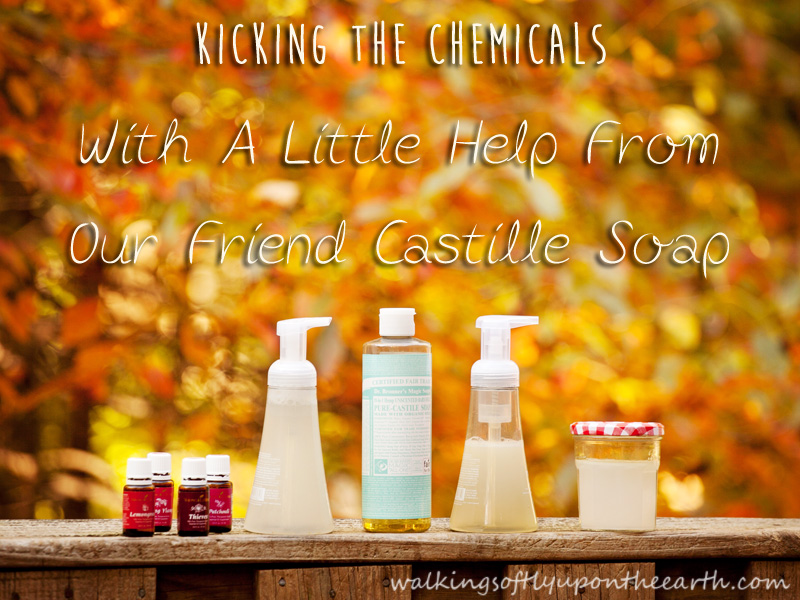
Kicking the Chemicals~Recipes With Castile Soap

Recipes With Castille Soap

Today we continue our Kicking the Chemicals series, as I try to rid my home (and yours) of as many chemicals as possible.  I’ve recently discovered the wonder that is castile soap.  So did the Super Awesome Husband when he saw the bottle sitting on the counter.  I saw the eyebrows raise as he lifted the bottle to see what it was and got an eyeful of the label.  Whoops!  I knew some explaining was called for, because, really, have you SEEN the Dr. Bronner’s Castile Soap label?  Eek!  But all I could say (with an apologetic look on my face) was a weak “It’s a really safe soap to make other soaps with.”  How lame?  So I threw out “It’s all the rage with the hippie crowd.”  (For those who have just joined us my Super Awesome Husband is really freaking awesome, but the woman he married was not this crazy, crunchy, health conscious, gardening geek that I have become the past five years.  He is patient and supportive, but I am a constant recipient of the eyebrow raise and eye roll before he humors me).  His response?  “Should we really be taking soap advice from hippies?”  😀  Well played Super Awesome Husband.  Well played.  But the castile soap stays.  Score!

I am going to share three crazy cool recipes I am now using in my home.  Antibacterial soap was a big offender I wanted to ditch, but with the months approaching that my children are always the sickest, I still wanted a really good soap to clean those grubby little hands.  Here’s what I found:

IMG_0089

Foaming Hand Soap

1/4 cup of castile soap (I love Dr. Bronner’s Unscented Baby Mild)

5 drops essential oil for scent and extra germ killing power (I LOVE using Young Living’s Thieves for this)

filtered water

Directions:  All you have to do is put your castile soap in a clean, empty foaming hand soap dispenser (I reused some that I had), add your essential oils and fill the rest of the bottle with filtered water.  Mix gently and you’re ready to go.

IMG_0083

I only use soap on my face once in a while because my skin is so dry and I’ve had a hard time finding something that is gentle enough for even using a couple of times a week.  This recipe is wonderful!

IMG_0091

Foaming Facial Cleanser

1/3 cup castile soap

1/2 tsp. sweet almond oil or olive oil

10 drops of Ylang Ylang Essential Oil

6 drops of Patchouli Essential Oil

4 drops of Lemongrass Essential Oil

2/3 cup filtered water

Put all of the ingredients in a foaming soap dispenser and mix gently.  This leaves my face feeling wonderful, and doesn’t cause any additional drying.

This last recipe was a great find for me.  I don’t wear a lot of makeup, but I do like my mascara.  My eyes are super sensitive though, and most makeup remover was either too greasy or burned my eyes.  I found this recipe, and with a slight alteration, it was perfect!

Eye Makeup Remover

1 cup of filtered water

1/4 tsp. of unscented castile soap

1 1/2 tsp. of olive oil

Put all ingredients in a little jar and swirl to mix.  I swirl it a little before I dip my cotton ball in each time just to disperse the oil.  When I get down to the end of the jar I usually need to add just a little bit more oil so that it still works well.

IMG_0080

And there ya have it!  Three more chemical filled products kicked to the curb.  🙂  Proof you CAN take soap advice from a hippie!  😉

sign off green

If you would like more information about Essential Oils I love and use, you can click here, or shoot me an email from the contact page above or directly to [email protected] and I would be happy to answer any questions you might have or send you a free sample.

DISCLOSURE:  This post may contain affiliate links, and I may receive compensation for sharing products and information on this site.  All thoughts and opinions are my own.  Thank you for supporting Walking Softly Upon the Earth!  See this page for full site Disclosure.
Excalibur 9-tray Dehydrator Giveaway

I am soooo excited to be able to share this with you all!!  The second I heard this giveaway was in the works, I jumped on board.  Well, for a second I considered not, so that I could enter, but then I thought of my crazy cool reader peeps and knew I had to join.  I’m going to be totally jealous of the winner, so do me a HUGE favor and make sure you enter so that’s it’s one of you and then I won’t feel so bad.  🙂

dehydrator-giveaway-portrait

Several members of the Homestead Bloggers Network (myself included 🙂 ) have come together to purchase one of these great machines and give you the opportunity to win an Excalibur 3926TB Food Dehydrator with a 26 hour timer.  This model sells for $349.  It’s basic black and with its 9 trays, adjustable thermostat and 7″ 600 watt fan, it means business!  An Excalibur dehydrator is on every homesteader, gardener and prepper’s wishlist.  It is the elite when it comes to dehydrators!

This giveaway is open to residents of the contiguous United States.  Entrants must be age 18 or older to enter.  Giveaway runs from October 15th – 22nd.  Winner will be drawn October 23rd and emailed.  The winner will have 24 hours to respond to the email before another entrant is chosen.

Enter right here folks!  GOOD LUCK!  GOOD LUCK!!!  GOOOOOD LUUUUUCK!!!!!!!

a Rafflecopter giveaway

sign off green

DISCLOSURE:  This post may contain affiliate links, and I may receive compensation if you purchase items after clicking on these links.  All thoughts and opinions are my own.  Thank you for supporting Walking Softly Upon the Earth!  See this page for full site Disclosure.

The Best Smelling Thing I Ever Made

Applesauce

Autumn is my most favorite of all the seasons by far.  Even all the beautiful blooming flowers of spring, the delicious tomatoes of summer and the gorgeous snowfalls of winter can’t beat the fiery colors, cool, crisp air and the crunch of fallen leaves under your feet that Autumn brings.  I also love the smells of Autumn.  Cinnamon, clove, apples and pumpkin everything.  🙂  Mmmmm….makes me happy.

So this recipe I’m about to share?  You can make it because it tastes wonderful.  You can make it because it’s healthier for your kids than store bought.  Or, you can also make it because it just smells so, so, so good.  Like make the whole house smell deliciously like autumn good.  I won’t judge.  I used to make crockpot apple butter just because it made the house smell wonderful.  I would keep a tiny bit for myself and give the rest to my Dad who loves the stuff.

Now this recipe is extremely complex, and so difficult only the very best cooks should try it.  😉  Just kidding.  My 10 year old made ours. 😀  I just helped adjust the ingredients to taste at the end.  The biggest thing to remember when making this is that the size of apples varies greatly, as does their level of sweetness.  You really will need to go by your taste at the end and adjust it as needed.

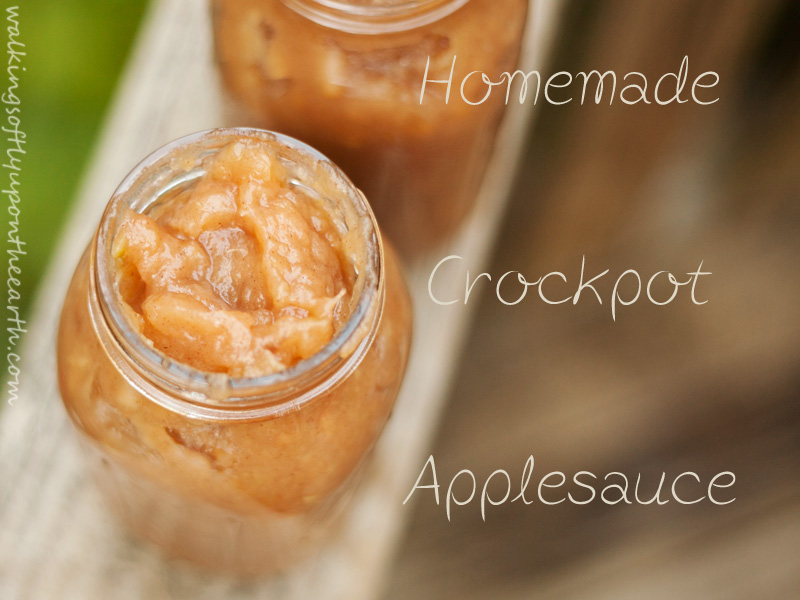
Homemade Crockpot Applesauce

Ingredients:

8-12 Apples depending upon their size.  I added apples until the crockpot was a good 3/4 filled.  We used 3 massive Golden Delicious and 5 or 6 Red Delicious.  I have used many different varieties of apples and have never been disappointed.  I always grab what is fresh and beautiful at the farm stand, and what my kiddos like to eat fresh so the leftovers don’t go to waste.  My Little Dude loves Gala and my Sweet Pea fell in love with Jonagold the other day, so I will probably make another batch soon with those.

1/4 cup of honey, or more to taste.  Always start with less, because you can add more in the end, but you certainly can’t take it out if it’s too sweet.  I also love to use local honey so that I know I am getting the real thing and not some of the fake stuff that some companies are selling as honey these days.  Honey should come from bees, not factories.  There’s my soapbox for the day, right in the middle of your recipe.  🙂

1-2 teaspoons of cinnamon  My kids are not huge fans of cinnamon in their applesauce, so I only added 1 teaspoon to ours.  Crazy little people they are!  Again, go by taste with this one so it’s as cinnamon-y as you like.  🙂

Juice from half a lemon

1/2 cup of water

Directions  (Follow along carefully.  This gets super-complex) 😉

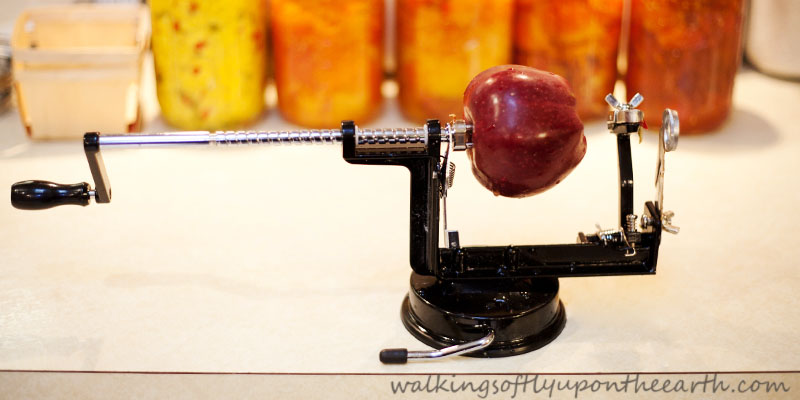
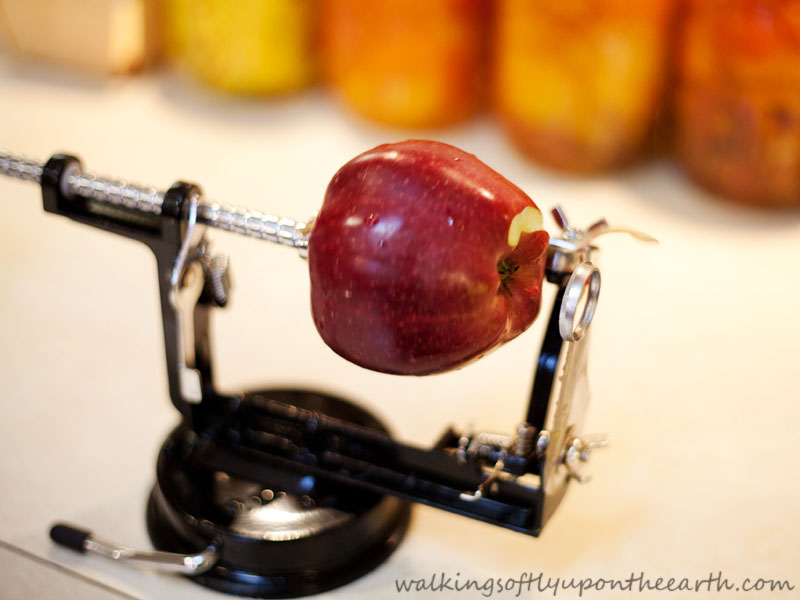
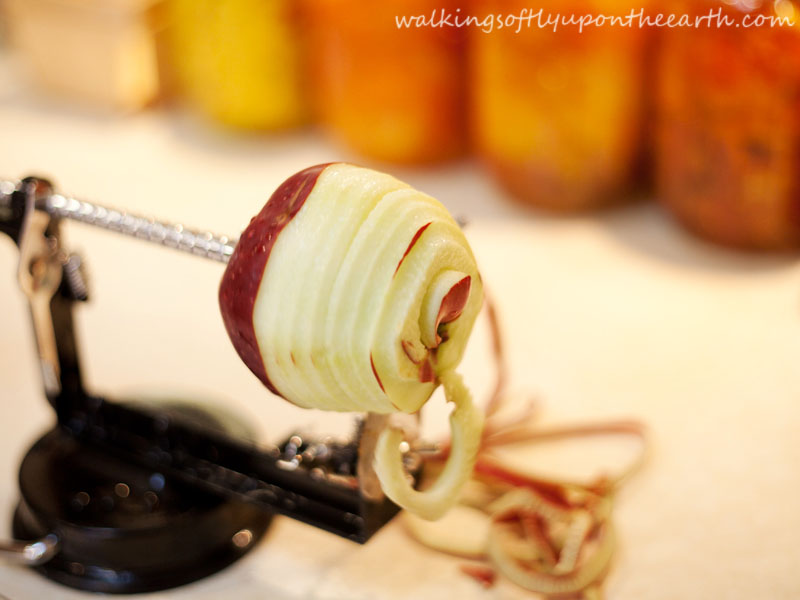
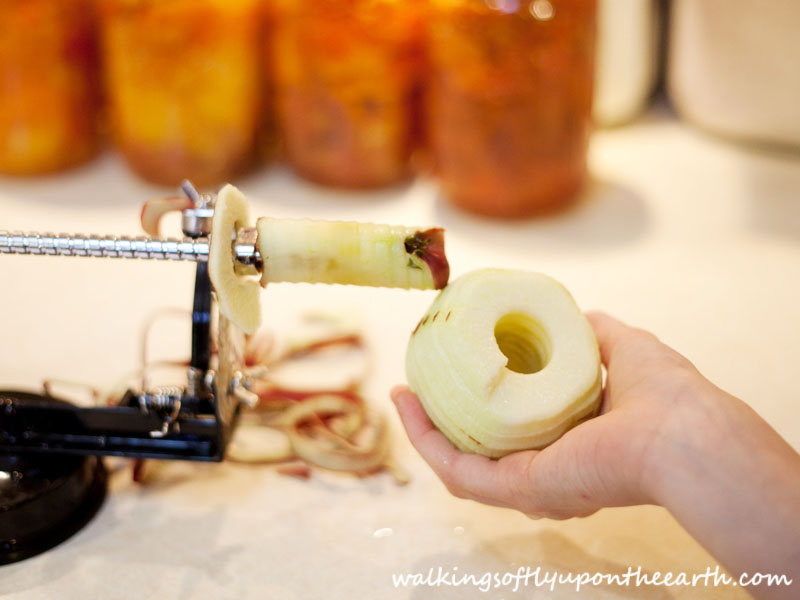
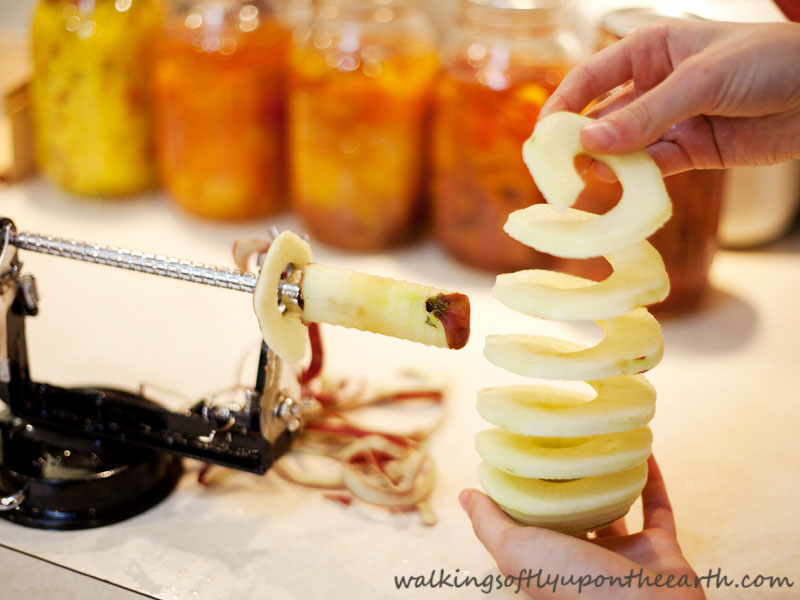
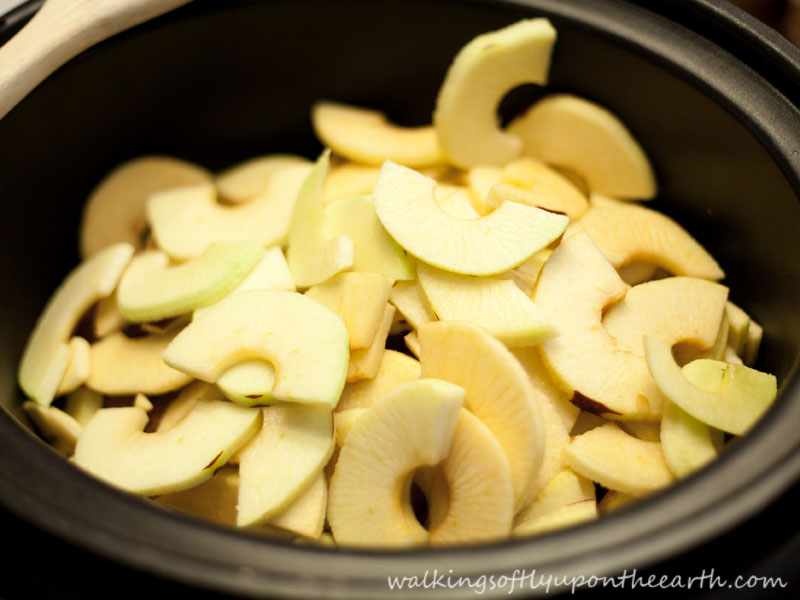
Peel, core and slice your apples.  This is probably the most time consuming step if you are doing it by hand.  My recommendation is, if you are ever planning to make this again or any other apple dish for that matter, get yourself one of these:  Apple Peeler, Corer, Slicer  I hate the whole process of peeling, coring, slicing apples for pies and sauce, and with 9 little apples trees growing in my yard now, this was a no-brainer for me.  This little gadget was crazy easy to use (again the 10 year old did most of the work) and I am very happy with myself for getting it.

applesauce1

You stick the apple on the prongs and turn the handle.

applesauce9

applesauce10

applesauce11

I can’t tell you how happy it made me not having to do this all with a knife.  It’s the little things.  🙂

applesauce8

Now for the tricky part.  Throw everything in your crock pot, cover and cook on low for 6 hours.

applesauce2

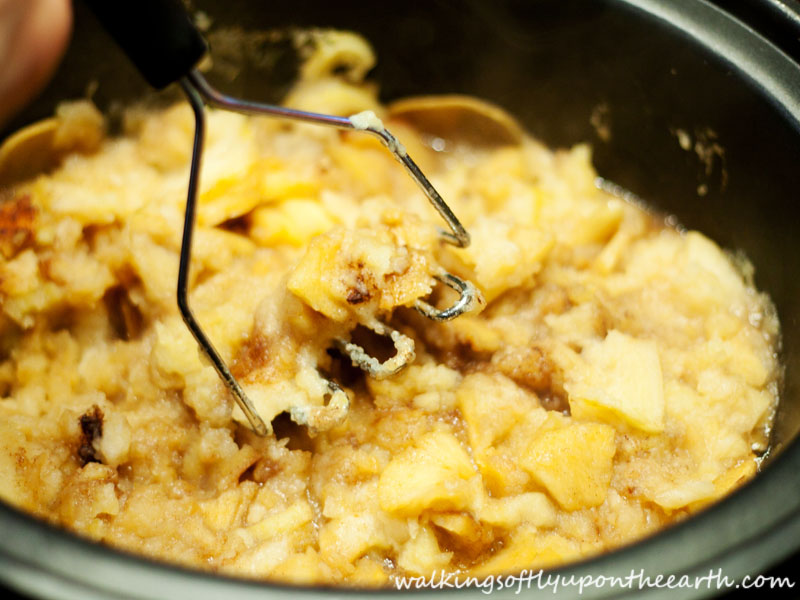
I usually grab my potato masher and mash the apples around the 4 hour mark and let it cook for another hour or two.  This is a good time to taste it and add more honey or cinnamon if needed.

applesauce5

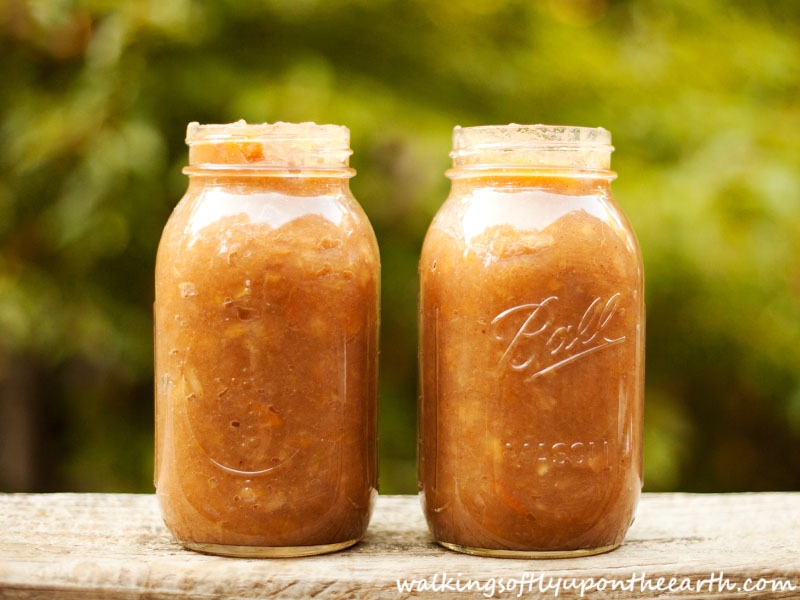
It’s done when it’s the texture you want and there isn’t a bunch of liquid in the pot.  You can’t mess this up.  🙂  I got two quarts out of the recipe, plus a whole lot little that we ate while “taste testing” it.

applesauce3

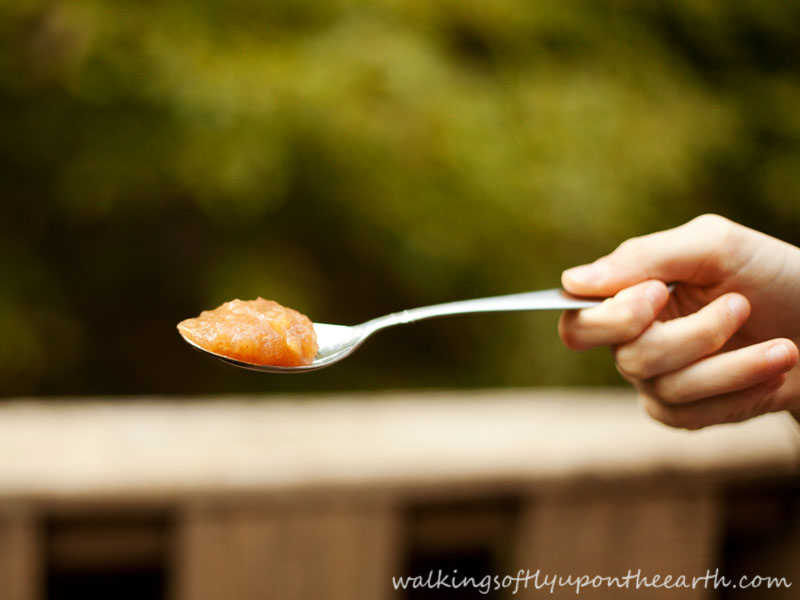
It is wonderful hot or cold just as it is.  I also like it in my oatmeal and on pancakes.  YUM!!!!  My next recipe will be my Pumpkin Muffins.  Making them would be a good way to use some of this applesauce.  That is, if you have any left.  🙂

applesauce4

sign off green

This post was shared at the Homestead Blog Hop #1

DISCLOSURE:  This post may contain affiliate links, and I may receive compensation for sharing products and information on this site.  All thoughts and opinions are my own.  Thank you for supporting Walking Softly Upon the Earth!  See this page for full site Disclosure.